
We've got our Pack's Pinewood Derby coming up this Saturday. This year, flush with our success last year, The Boy and I have somewhat of an image to maintain. He's doing more of the work on his car this year (and will do even more next year); so I decided to build my own car to really see what kind of speed I could wring out of a 7" block of wood.
I also thought it would be neat to detail the process. I intend to print out the entire series of pictures and put it together into a pamphlet I can offer the new Cub Scout dads next year. This will be the first part - creating the car - and the second part - finishing touches - will follow shortly.
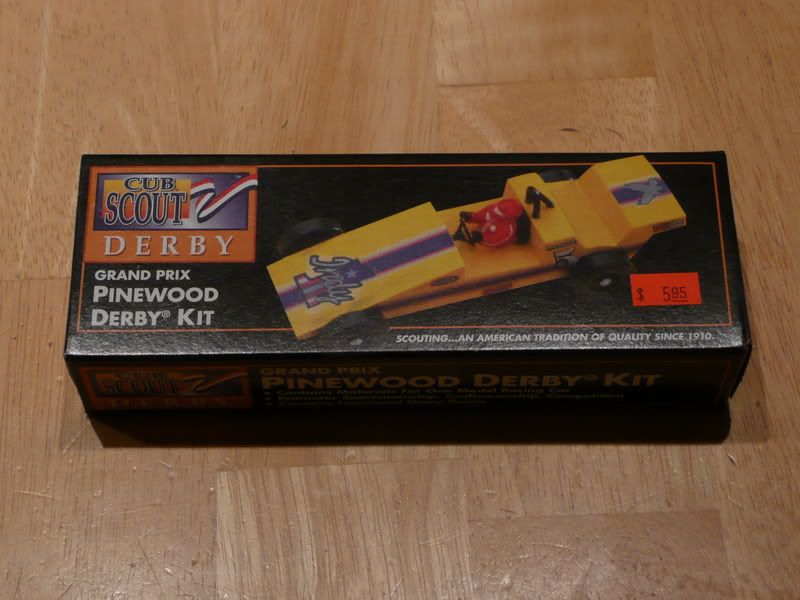
We'll walk through each step of the process, starting with the kit itself:
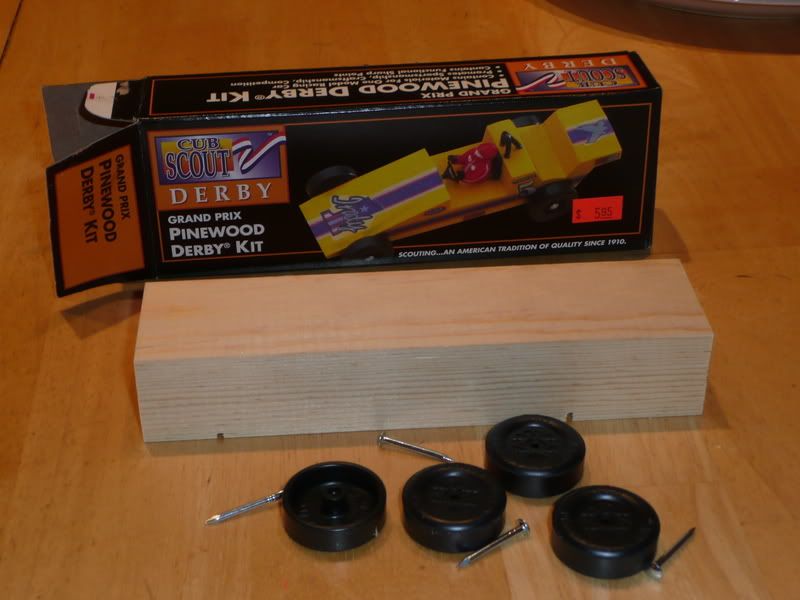
and what's inside that magic little box:
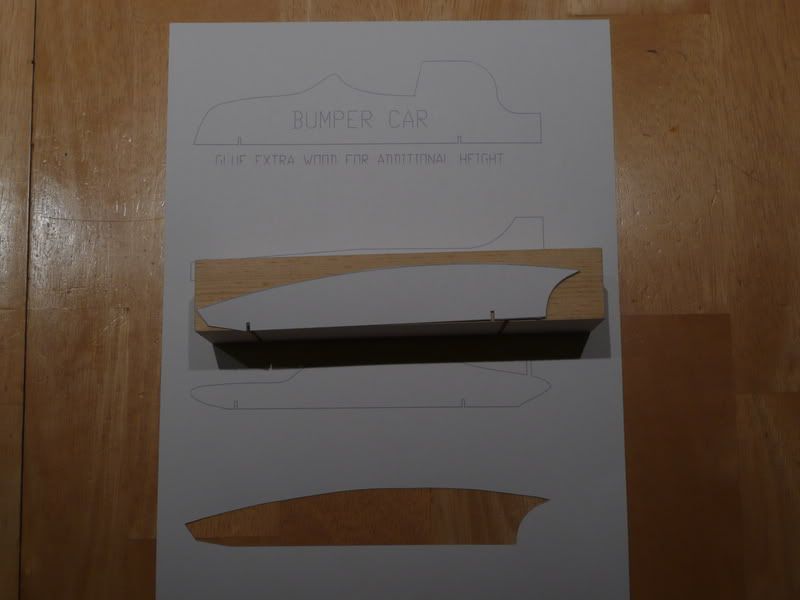
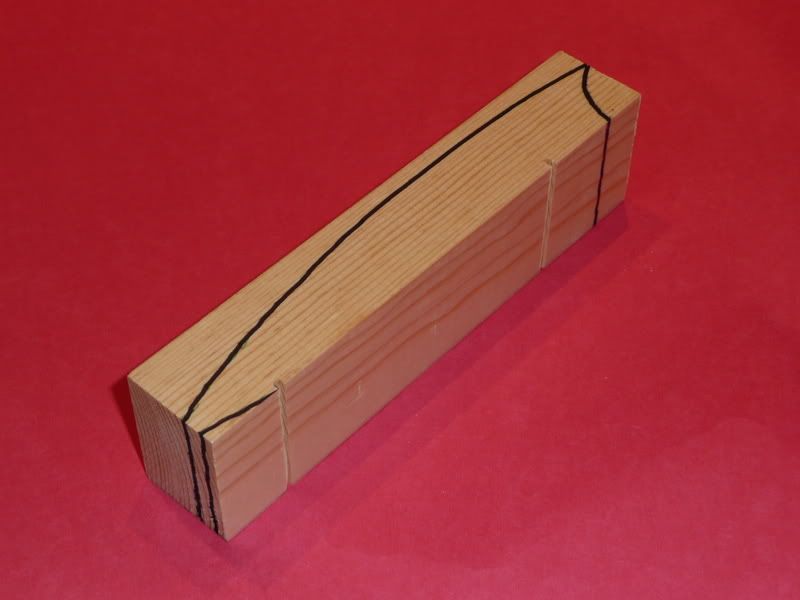
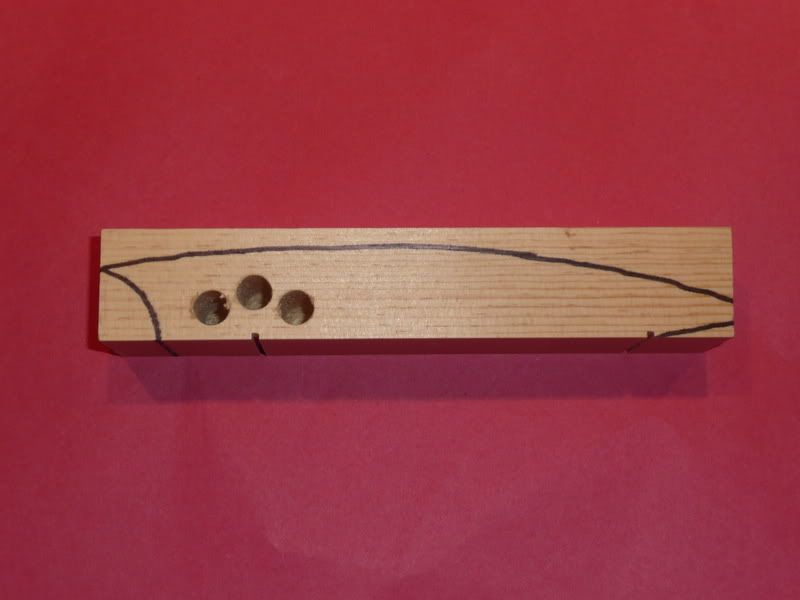
Next step is to transfer the template to the block of wood:
 Right now, before any cuts are made or any sanding is done, is a good time to decide where the weights should go. We had very good luck last year with the weights placed over the rear axle, so we decided to stick with a winning formula.
Speed tip #1: Placement of weights closest to the rear axle yields the fastest times.
Placing the weights up front, on the theory that it helps "pull" the car down the track, has the unfortunate effect of having the rear wheels "hop" on the downslope. Placing the weights behind the rear axle is good, but the fastest configuration is over the rear wheels.
Most hobby shops will stock a large variety of Pinewood Derby accessories (and they're also available online - I recommend supporting the local business for a variety of reasons). We chose the round weights which are easily put into the car by drilling a set of 3/8" holes:
 Be VERY careful to check the depth on the drill press!!! The weights come as 1 ounce units that have 12 segments. With the holes drilled properly, you can cut each segment in half and get ½ ounce per hole (remember that the car can weigh no more than 5 ounces).
Speed tip #2: Remove burrs from the axles (nails) and the tires.
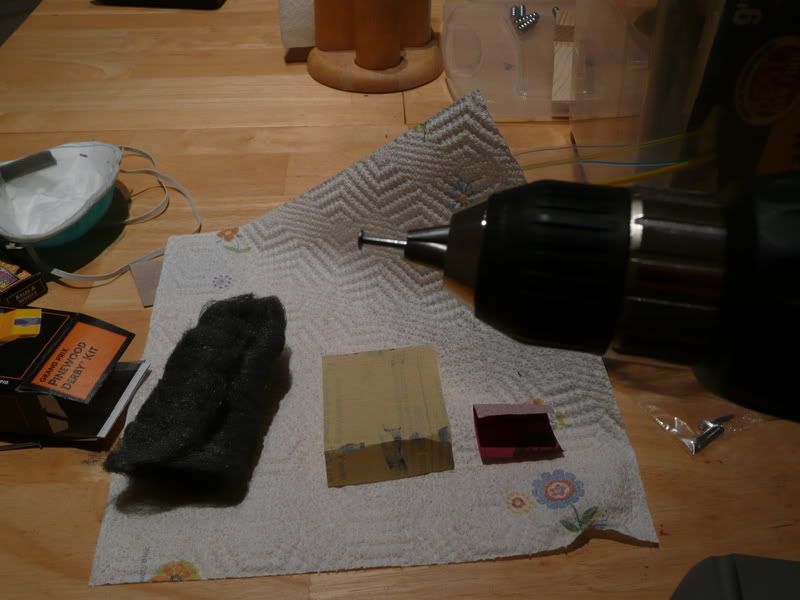
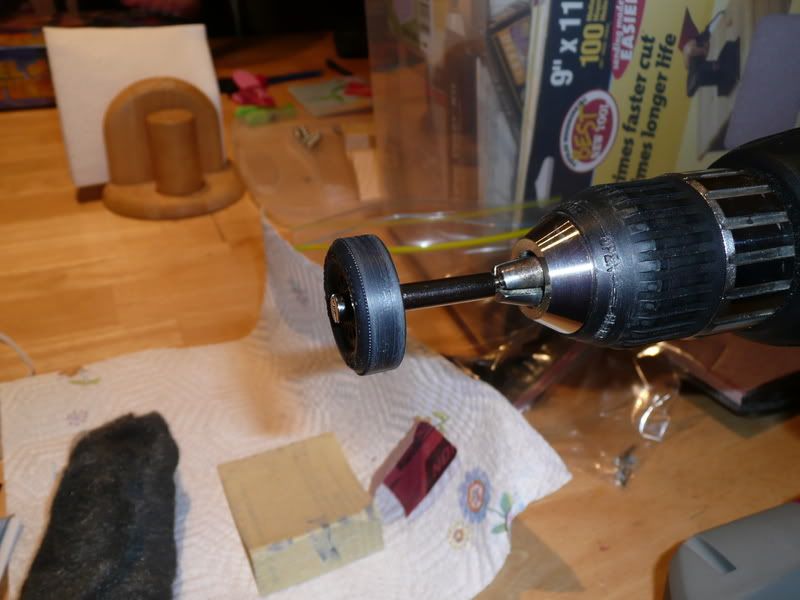
For the wheels, I recommend the wheel chuck:
The last step in this section is the most dangerous, and the only step so far that I performed for my son: Cutting out the shape.
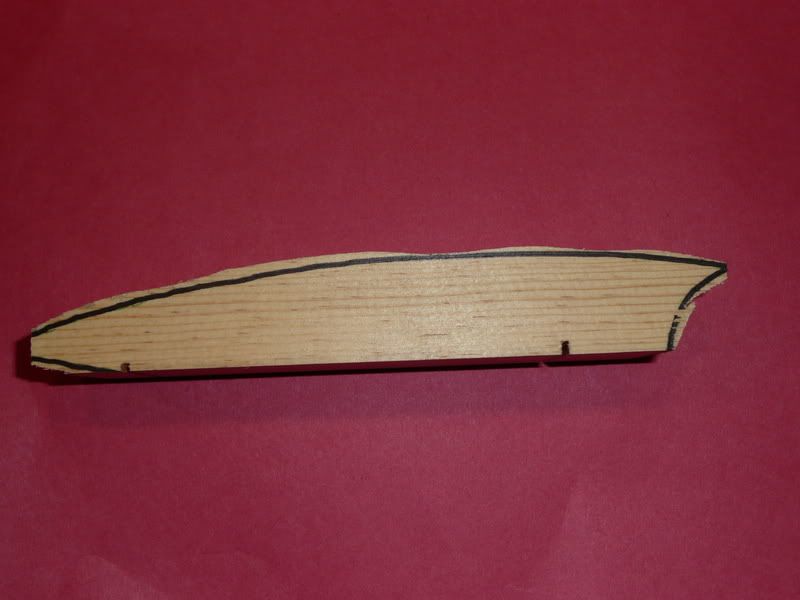
Here's a big tip, one I learned the hard way: A good band saw (or heck, even a cheap one) is about 150 MILLION times better than a coping saw... I cut out three cars (one for The Boy, one for me, and naturally, one for BabyGirl G so she wouldn't feel left out...) in about a tenth the time it took me to cut out his car last year.
It's also a very good way to involve your Cub Scout and get them thinking about power tool safety. I had the full set-up: Gloves, mask, safety glasses; I insisted that The Boy wear the same. Since we were using an older band saw (hey, ya runs with what ya brung, and beggars can't be choosers...), it required a little extra TLC along the way - what better way to show how to troubleshoot? Shut the switch off, remove the safety key, then unplug. Just like in shooting, you'll never go wrong being extra careful...
That's it for Part one. We've designed the car, cut out the shape, and prepped the body for sanding. The wheels and axles are polished and ready to be put on; once sanded, the car can be painted and then is ready for the final assembly, which is where Part II will come in.
How will she do? Well, we'll find out Saturday afternoon. I'm hoping for some bragging rights...
That is all.


9 comments:
Another speed tip is to hit the 5 ounce mark as close as you can without going over.
The difference in small variations makes in the times were very obvious the years that we ran Pinewood Derby cars.
Great idea about the pamphlet, dads will greatly appreciate the help and the tips.
Bob,
That speed tip will be contained in part II... :)
We'll be sanding, painting, attaching the wheels/axles, and adding the final weights then.
You do realize that with all this careful prep I'm going to come in dead last, right?
*g*
I used to use a design that tended to always do well.
I modeled my Pinewood Derby cars after a cut out of a wing. Something close to this design.
http://www.soaridaho.com/Schreder/Technical/Winglets/PSU-90-1.jpg
Every time I used this design, and the one other person I encouraged to use it - it did well.
I think the reason was that we would use lead to bring it close to it's max weight. But the wing gave a superb aerodynamic design. But I think there was one other factor.
I think on the flat runway the wing design may have created a slight element of lift. Perhaps slightly reducing the friction of the wheels.
Your design is already really close to being a wing. In my designs I simply brought the tail down a bit lower than you have on yours.
I always wanted to do wind tunnel tests with pine wood derby cars. I remember though one race, where I placed 3rd. The winner, I have no idea how they won. They painted their block purple and stuck a skelator head atop of it. That was it... *shrug*
Jay,
I realize that..I've had very mixed results with my designs.
I did get an honorable mention for one design - "Most like to fly off the track and hit someone". That one took the most time to construct.
My other one -- "The Pinewood derby is WHEN???" placed in the top three every heat.
I gave up on careful planning after that.
You, sir, are a SAINT. I wish I had this two weeks ago. My boy raced twice and lost both. First time out, so it was a learning experience.
The_Saj,
One of our (meaning our Pack)winning designs a few years back was a school bus. They literally cut a 90º chunk out of the front and painted the remainder of the block yellow.
First place.
They spent the bulk of their time on the weighting, axles, and tires - good weighting and plenty of graphite worked in well overcame the aerodynamics of the brick...
Bob S.,
That's too funny. A good friend of mine - Cubmaster in another pack, as a matter of fact - laments the fact that his oldest son won third place his WeBeLoS II Pinewood Derby.
Which was the year he made the car entirely on his own - without any help from my buddy...
Liberty,
Thanks! Of course, I'll note that if you'd been paying better attention here @ MArooned you'd know I was with the Cub Scouts... ;)
But seriously, this is exactly why I'm doing this. All of these pictures (with greater detailed explanations) will be pulled into one book which I'll bring with me.
With any luck this car will show well in the "adult" race so I can have that cred to back me up...
My best one was a simple shallow wedge. We didn't even paint it, Dad just "browned" the wood with a propane torch. We used the flat weights in a little cut-out in the bottom, in the center.
I got my best times ever out of that one.
Thanks for this post, Jay!
I entered the Pinewood Derby many years ago, and learned a valuable lesson about NOT over-oiling things.
Oddly enough, this month my Lodge is having the Cub Scout pack that we sponsor over for an evening, and we're holding a "Deadwood Derby" - the Brethren get to race. I'm thinking of picking up a kit and building a car for it...
Wow, funny -- you picked the exact same template Sci-fi Jr and I used for his best car ever, 2 yrs ago.
We tried to make the profile a bit more "winglike", then I added a scallop along each of the lower-sides, and also chamfered all edges. Painted it a glossy white, IRC, sanded the wheel-nails smoooooooooooooooooooooooooooooooooooth, and whoosh, it was a trophy-winner.
We'll have to repeat this for 2010.
Post a Comment