
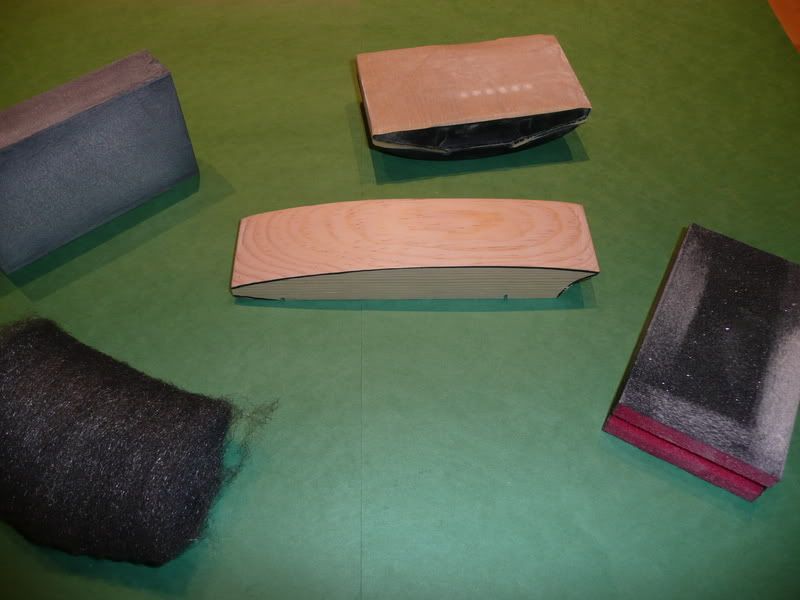
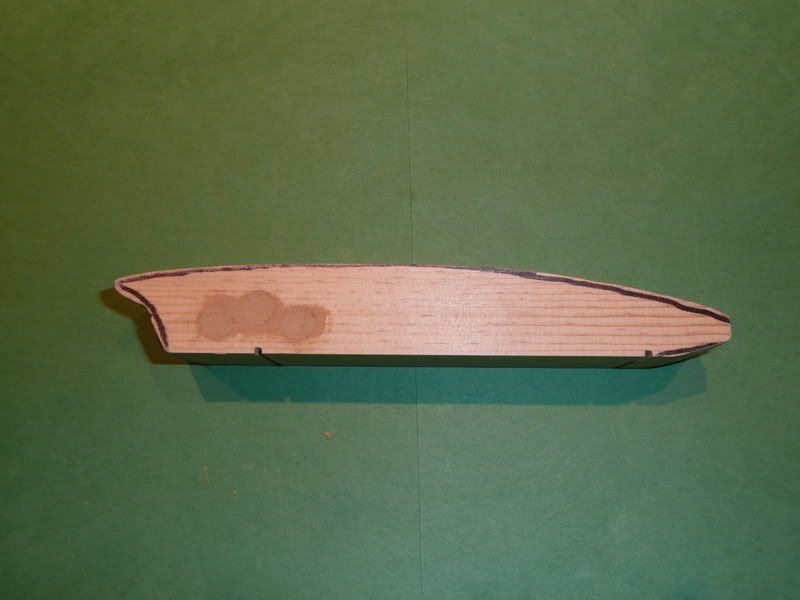
We left off with the basic shape cut out. The next step is to sand it to its finished shape:
The next step is optional - adding weights inside the car. Some folks prefer to add flat weights to the bottom; some add it throughout the car. We've found that putting the bulk of the weight over the rear wheels brings the best speed improvements - too far forward and the car "hops" down the steep part of the track; too far back and the front lifts up when the track levels out.
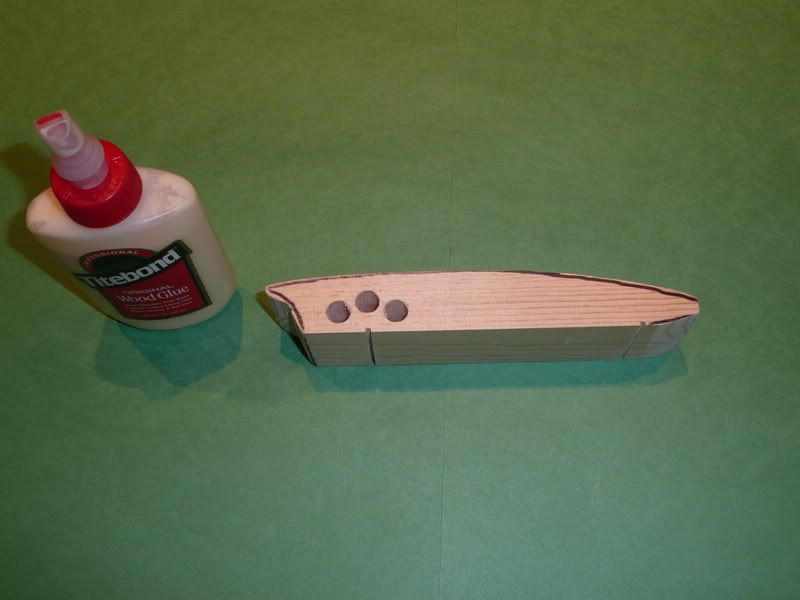
We opt for the 3/8" round weights positioned over the rear axle. Each bar is 1 ounce; the bar can be cut in half and fit perfectly inside the car. A 3/8" drill bit and a drill press makes the holes (be *very* careful to watch the depth of the bit!).
Put the weights in:
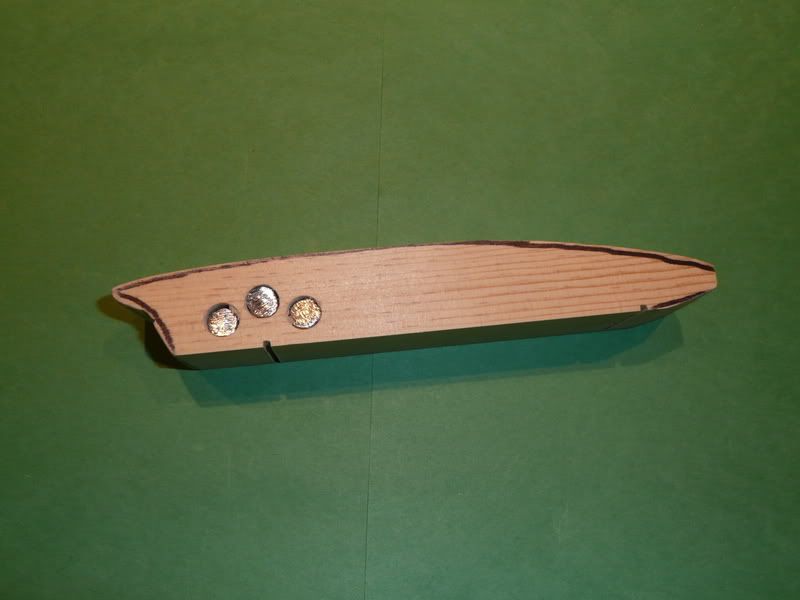
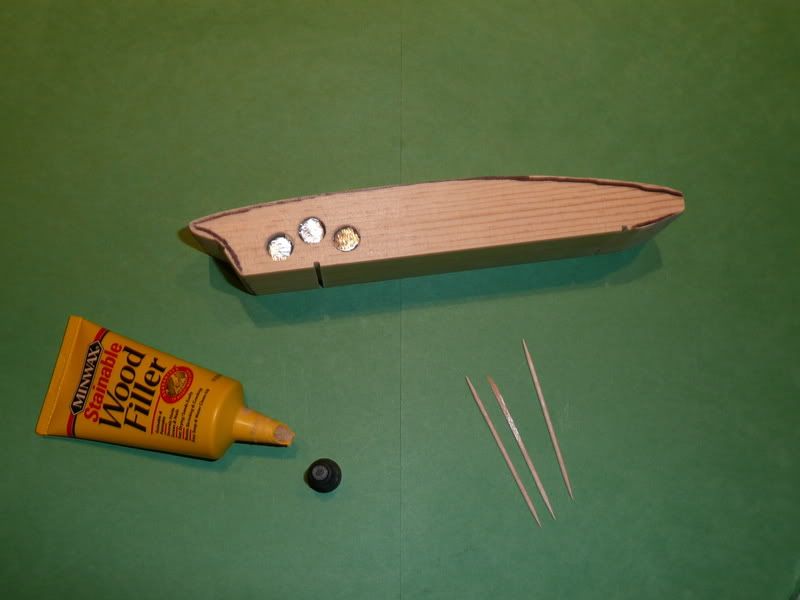
Next, cover up those unsightly holes:
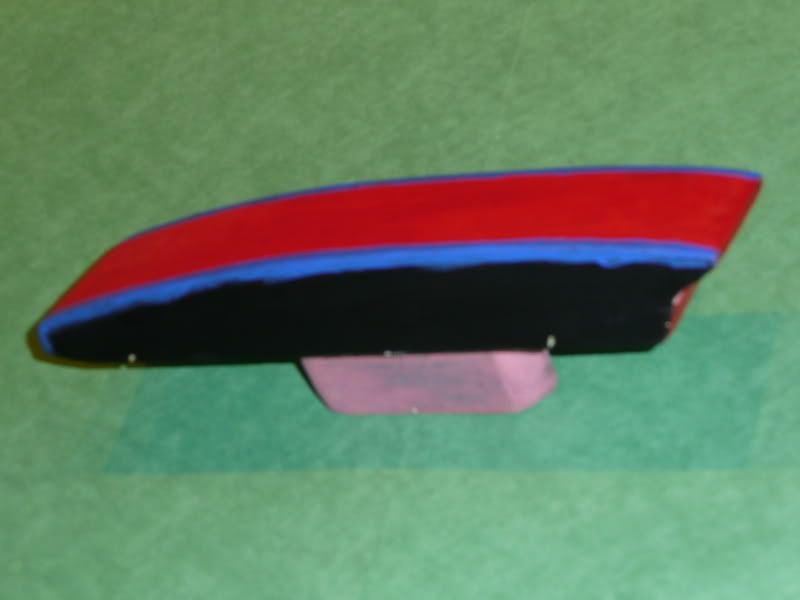
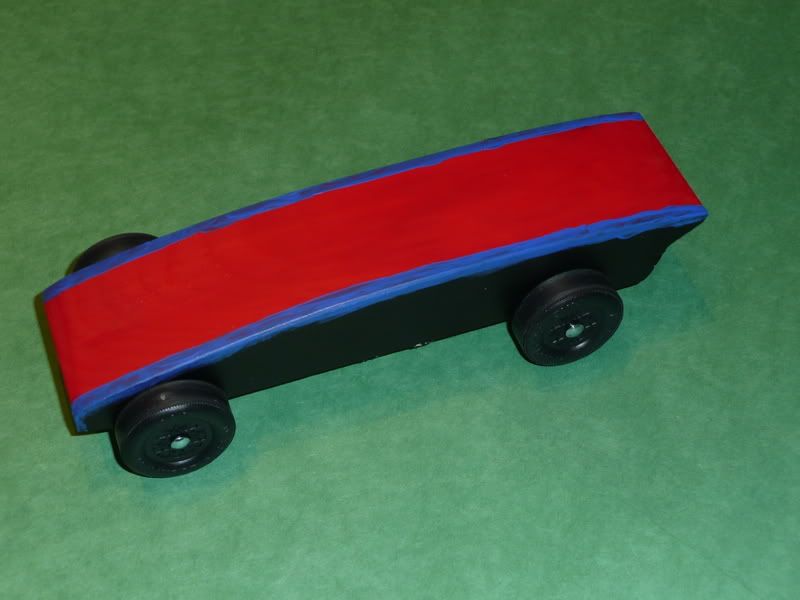
The paintjob is a chance for real creativity; I opted for a simple design:
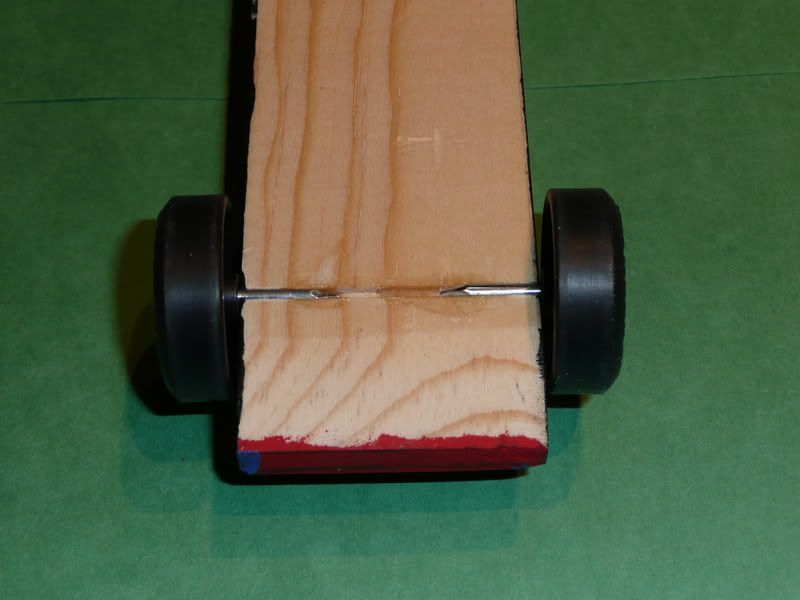
Speed tip#4: Once the car is perfectly even, lift one of the front wheels up ever so slightly - three wheels touching the track instead of four means less friction.
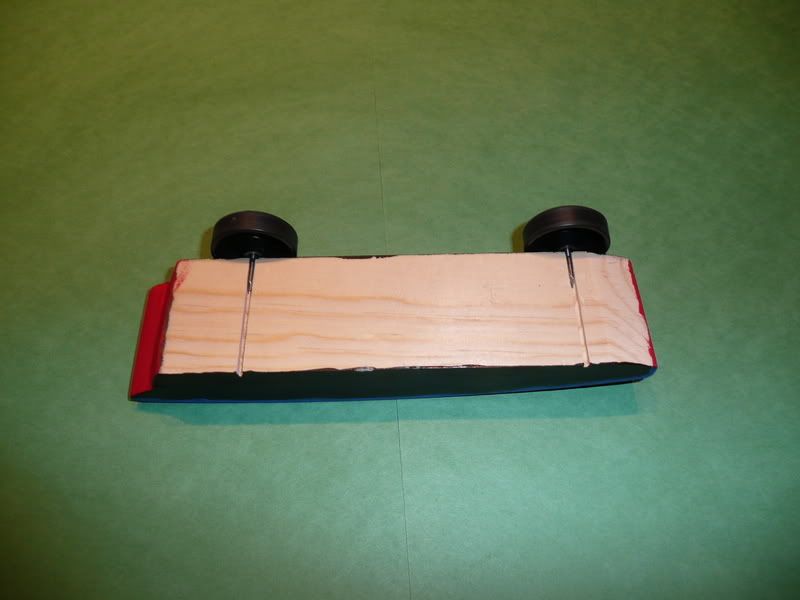
One of the last steps is to glue in the axles once all four are attached and even.
Second to last step is to put graphite on the axles. The best way to do this is to tip the car on its side, squeeze a moderate amount of graphite into the junction of the nail and the tire, and spin the tire a bit. Once all four tires have had graphite added, run the car on a flat surface (on top of paper towels, please, unless you want to be the target of your wife's wrath...)
The very last thing to do is to add weight to the car to get it as close to 5.00 ounces as possible. I only had to use one small weight on the bottom of this car to get it to 4.95 ounces.
And the final product:
That's my entry to the adult race. I didn't get a chance to work in anywhere near as much graphite as I would have liked (more is better; the ideal is a wheel that spins 15 - 20 seconds), so my fourth place finish was quite satisfactory.
I hope that this series has been helpful; please feel free to share your tips/questions/ideas/things to avoid for all the Scout dads and future Scout dads. As I mentioned, one of the driving forces for me putting this together was to have a handy series of "how to" pictures that I can print out and pull together into a "Pinewood Derby Cars for Dummies" type book for the new Scout dads next year.
And next year, my car is going to be a speed demon - The Boy won't stand a chance!
That is all.


4 comments:
Nice details. Needs some decals (NASCAR or Colt). Ever consider sanding the wheels (less friction)? My last year running I bevelled the wheels somewhat to reduce the contact.
Also, junior glued bbs under his car one year. Our pack scale would sometimes weigh a car heavy and we had to remove weight at the last minute. His car came in slightly over the 5 oz limit and we had to pop off one bb to make the cut (came in 3rd).
If I'd had time I wanted to do a flame job.
Next year...
Sanding of the wheels (and axles) was covered in part 1.
The Boy's car was just a tiny fraction over the weight (5.05 ounces), so I unscrewed the weight, pried two small bars off with a pair of vice grips, and screwed the reduced weight back on.
Voila! 4.95 ounces!
Great post Jay,
It will be very helpful, especially to the Tiger Cubs' parents, next year.
One consideration is to address if you didn't already is the issue of those folks who may not own or be familiar with power equipment. I was thinking especially single moms, which from my experience is an increasing percentage of the scouting parents.
I know that most other parents would be happy to help out, so reminding them there is help out there is especially reassuring.
Overall, awesome job Sir. The pictures really demonstrate what you are talking about in each section. Very impressive, I'm sure it will be a document that gets handed out for years and years.
Bob,
Thanks for the kind words! I didn't get too into the specifics of next year, but I was planning on offering use of the band saw and/or drill press to anyone who needed it.
Last year's car (which took first place, I might add) was cut out using a coping saw, so you don't really need a power tool, but it *does* make it a LOT easier...
The actual presentation will have more pics and text; I've presented the "Reader's Digest Condensed Version" here...
Post a Comment