
I mentioned last week receiving the sights from LaserMax. What I hadn't mentioned yet was that Thursday night when I got home there was another package from LaserMax waiting for me. In that package was this:

G30 with LaserMax
Yep. The good folks at LaserMax sent along a LMS unit for my G30 for a direct comparison to the LaserLyte RSL sights received earlier. Now I can test both sets of sights on a polymer-framed subcompact .45 ACP and a full-size metal-framed 9mm. This is going to be very interesting indeed.
For the LaserLyte sights I had a gunsmith install the sights - for me, it was worth the $20 to have a pro take care of it. For the LaserMax, I chose to do it myself. Here's the process in pictures:

Step 1: Check Gun to Make Sure It's Unloaded
This should always be step one whenever one is working on a firearm...

Step 2: Field Strip Gun

Step 3: Remove Take Down Lever
This step for the Glock was a tad more difficult, but still well within even my admittedly meager limits. The SigSauer take down lever removes by pushing it in and rotating it; the G30 requires that a spring be depressed, the factory lever removed, a new spring installed, and a new take down lever be installed. It took about twice as long to install the LaserMax on the Glock as it did on the Sig, but the Sig installation really only took a couple of minutes.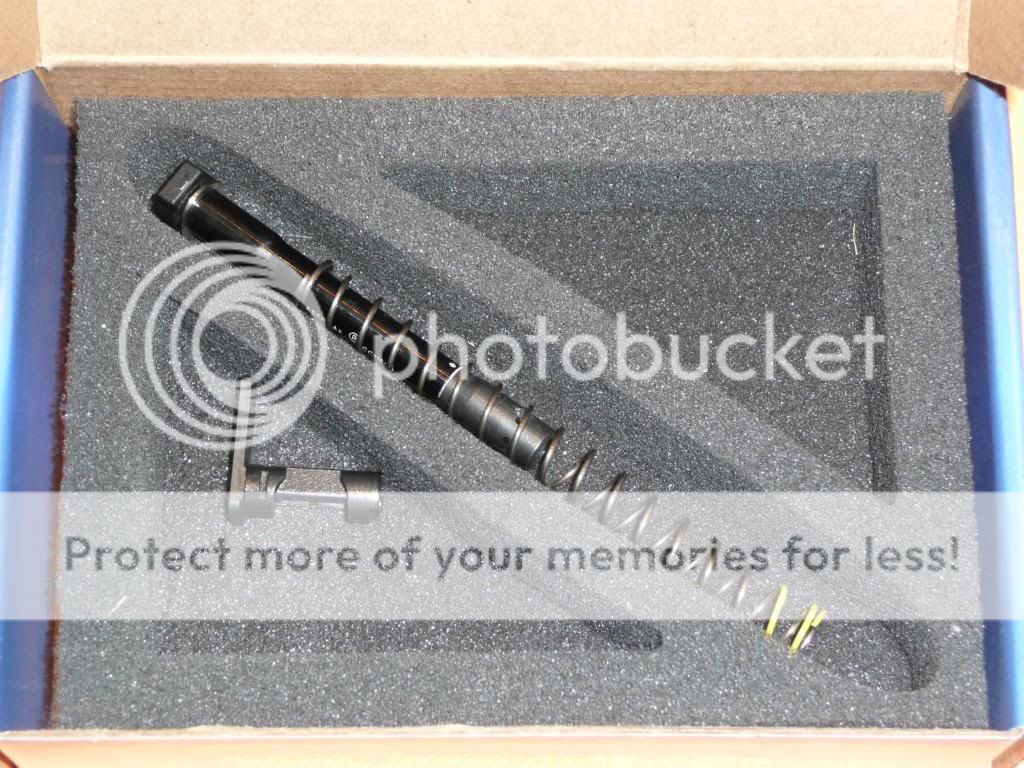
Step 4: Procure LaserMax Unit
The Glock unit came with a little tool for depressing the spring needed to remove the factory take down lever. It was a nice touch, considering that I would have been left staring at the Glock much like the monkeys staring at the monolith in 2001: A Space Odyssey...

Step 5: Install LaserMax Take Down Lever
Once the new spring was securely in place in the Glock, the new lever went in quickly and easily. The instructions were quite clear, well-illustrated, and easy to follow. Like I said, it was so easy even I could do it. And did!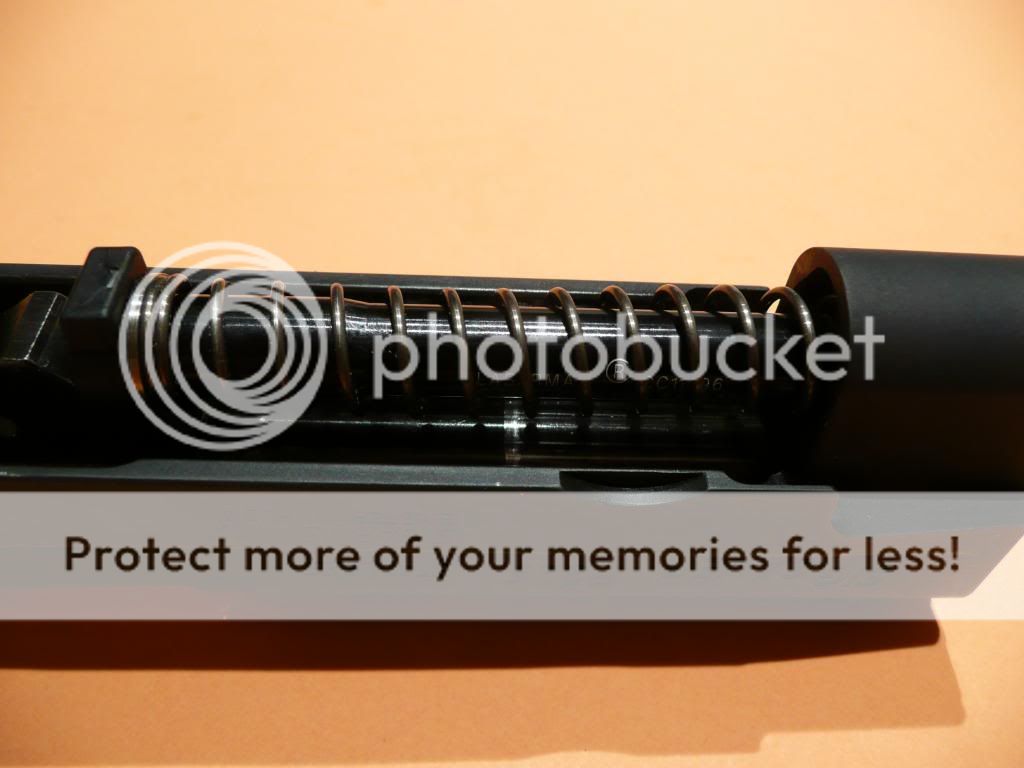
Step 6: Install LaserMax Unit
Here there's one thing to be careful of - the guide rod unit has to be installed in one direction. However, this is very well documented and marked in both the instructions and on the unit itself, so it wasn't an issue.
Step 7: Reassemble Gun
And there we are! A Glock G30 and a SigSauer P226 with LaserMax LMS internal guide rod laser sights installed.
A quick side-by-side view of the LaserMax and LaserLyte sights in use:
Laser sights at 65'
That's the LaserMax dot on the top and the LaserLyte dot on the bottom. The distance is approximately 65 feet, with both units roughly aligned with the iron sights (picture is edited only to remove certain messy elements of my kitchen; the laser dots are untouched). The distance from the doorframe to the wall on which the laser dot is projected is approximately 24'; the reviewer was standing approximately 40' from the doorframe. The camera is zoomed 10X to capture the laser dot on the wall.
The LaserMax sights are a slick piece of engineering. Using the guide rod as a place to insert a laser sight is a stroke of genius; it allows the sights to be unobtrusive, protected, and already aligned with the bore. The placement of the on/off switch in the take down lever for either gun is a solid choice, as the trigger finger rests just below the lever in normal indexing. The on/off switch on the Sig takedown lever is a small button, and the Glock uses the take down lever itself as the on/off switch, relying on the position of the switch to turn the unit on or off.
The dot itself pulsates for maximum brightness according to LaserMax and is not user-adjustable. LaserMax claims accuracy of ± 2" at 20 yards, a claim that will be put to the test later this week when I bring both guns to the range for the shooting part. Sight acquisition of the laser dot is simple and rapid.
Look for Part II - the shooting part of the Range Report - next week.
That is all.
Obligatory FTC disclaimer: LaserMax did provide two LMS laser sights for review as well as a universal rail-mounted laser in their shipments to the writer of this review.


5 comments:
Can you adjust point of impact somehow with the guide rod style? Or at 20 yards close enough is good enough. I never realized how much I moved until I tried a laser. Good training in any event.
I love my P220's easy disassembly! Looking forward to the ballistic part of the test - and the cleaning.
IIRC "Somebody" made a not of saying that their his Crimson Trace laser (on a 1911?) got obscured by GSR and stuff, and required cleaning.
That laser light makes a nice aiming point for the bad guy. Other than that, you'd be in total darkness and he'd be in the light. You'd have the advantage.
Libertyman,
The LaserMax unit is not adjustable, at least that's what the instructions say.
I'm waiting to see how it stacks up on the range before I fret about it too much. ± 2" at 20 yards is a four inch spread at a distance larger than I'm likely to take a shot at anyways, so I can live with that.
DirtCrashr,
I'm looking forward to shooting with it! It's going to be interesting to see how it holds up to the rigors of repeated shooting, as well as whether the POI changes at all over time.
TOTWTYTR,
If the red dot appears on someone's chest, it's because I'm in the process of shooting them.
At that point, I'm not terribly concerned about giving away my position. I'm more concerned about calling a good carpet cleaner...
I've had them for my G21, my p229, and one of my 1911s.
I liked ti for both the G21 and the P229; for the 1911 not so much.
I had two problems with them. The non adjustability was an issue for anything longer than 10 yards, and the things would get really dirty really fast, and require cleaning after a couple mags full at best.
I'm one of those who actually liked the activation system. The switches are small, but they aren't easily turned on accidentally.
Of course if you already have your own custom bit for a bit they want to replace (being different on each model), that can also be a pain.
Post a Comment